
Aquarium LED Lighting
Bright, efficient light that brings out fish colors and powers plant growth-while helping you control algae and day/night cycles.
Overview
LED fixtures provide the right spectrum and intensity to showcase your aquarium and, if you keep live plants or corals, support healthy growth. Compared to older lighting, they run cooler, use less power, and offer easy control over brightness, timers, and even sunrise/sunset effects. In this guide, you'll learn how to choose the right size and output for your tank, what color spectrum actually matters, and how to set a photoperiod that keeps algae in check.
At a glance
- Category
- Heating, Cooling & Lighting
- Type
- Equipment guide
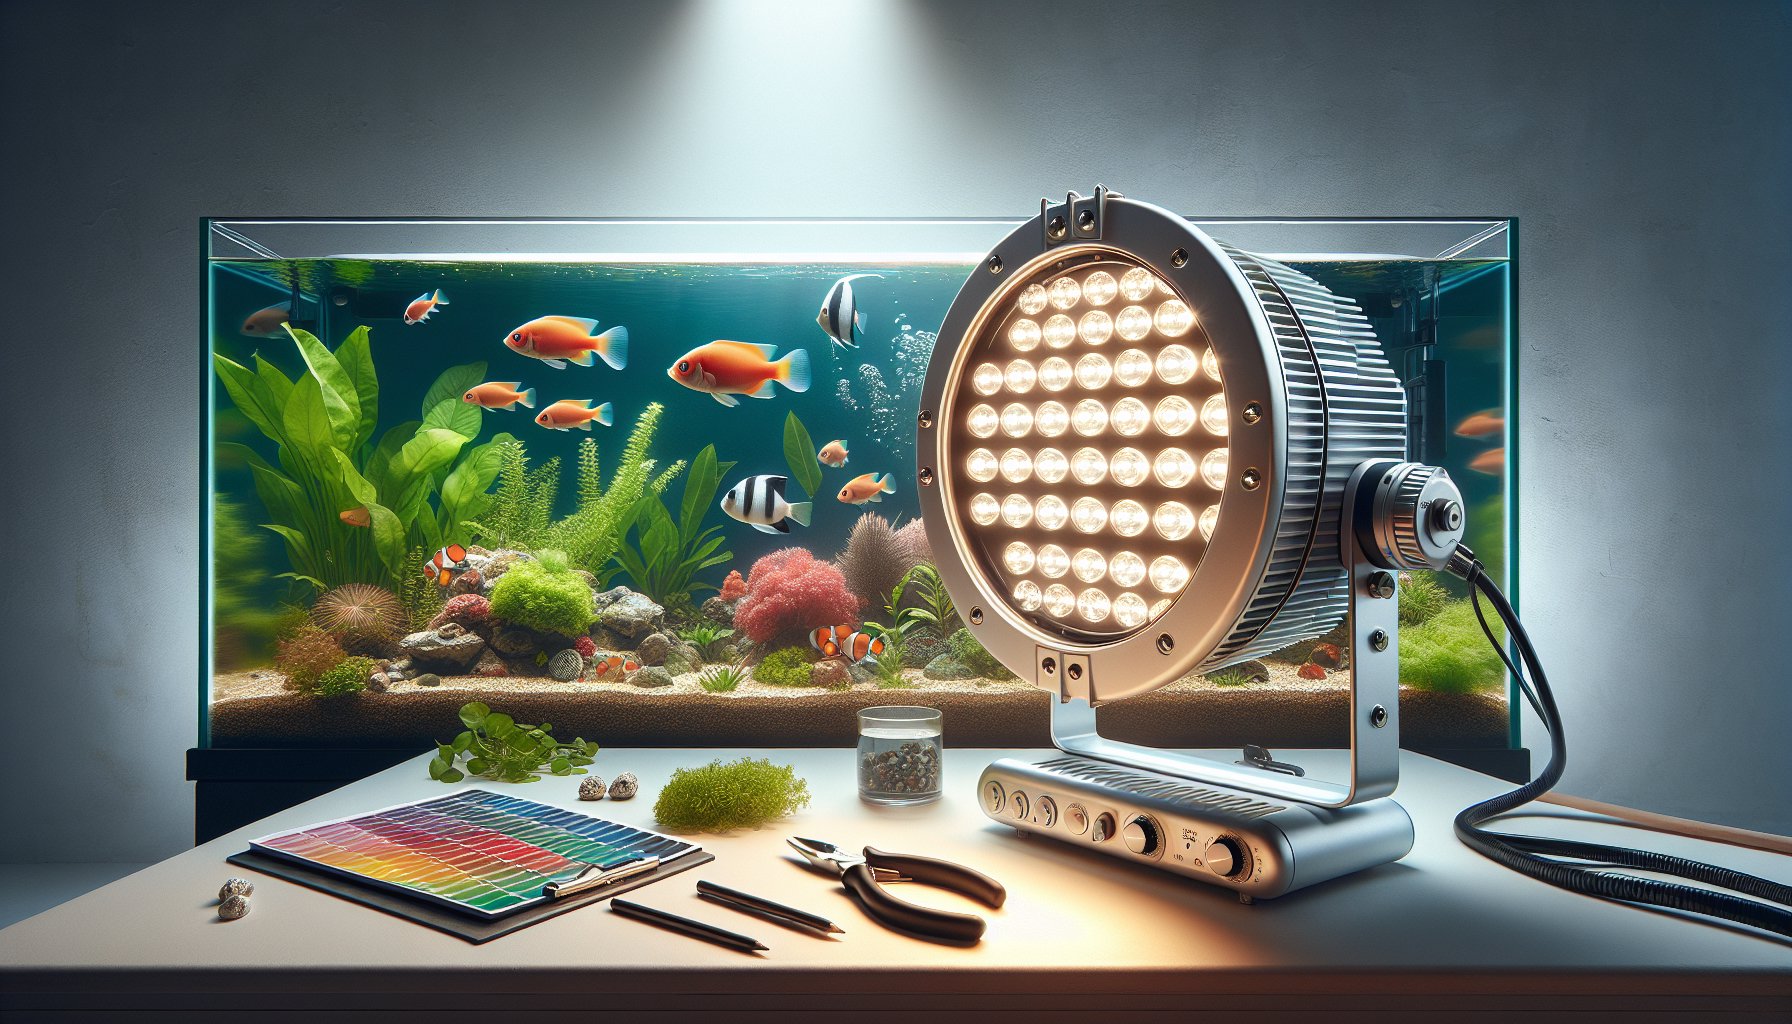
Aquarium LED Lighting (the stuff that makes your tank actually look alive)
Aquarium LED lighting is exactly what it sounds like: a purpose-built light fixture for your tank that uses LEDs instead of old-school fluorescent tubes. The big wins are brightness per watt, low heat, long life, and the ability to fine-tune the look of your tank (and how fast your plants or algae try to take over).
You need it for three main reasons: so you can see your fish in their best colors, so plants can grow (if you're keeping them), and so you can control a stable day/night cycle. Good light doesn't magically fix a tank, but bad light can absolutely make a tank annoying fast-dim viewing, ugly color, algae spirals, and stressed fish from weird schedules.
My rule of thumb
Buy the light for your future plans, not just today's livestock. If you think you'll "maybe do plants later," you probably will-get something dimmable now so you're not rebuying in six months.
How LED aquarium lights work (the non-nerdy version)
LEDs are tiny light sources that put out specific colors of light. Aquarium fixtures mix different LED "channels" (usually white, blue, sometimes red/green) to create a look you like and a spectrum plants can use.
Most lights sit above the tank (on legs, a mount, or hanging). Light spreads down through the water. The deeper the tank and the more plants you want to grow, the more usable light you need reaching the bottom. That's why the same fixture can be "fine" on a shallow 20 long but struggle on a tall 29 or 55.
Dimming and timers matter more than people think. A too-bright light can be tamed by running it lower or shorter. A too-weak light can't be "fixed" by leaving it on all day-usually that just feeds algae.
Types and variations you'll see
By mounting style
- Rimmed-tank "on-legs" lights: The common bar-style fixtures that sit on the tank rim. Easy, clean, and usually the best starting point.
- Hanging pendant/rail systems: Great for open-top tanks and aquascapes. More expensive, but you get nice spread and easy access for maintenance.
- Hood/canopy retrofits: LED strips or panels installed inside a hood. Works well if you want a covered tank (jumpers, evaporation control), but watch heat and splash protection.
- Clip-on lights: Often used for nano tanks. Convenient, but coverage can be spotty on wider tanks.
By "plant power" level (practical categories)
- Viewing/low-light: Great for fish-only, low-light plants (anubias, java fern, crypts) and simple setups.
- Planted community: Enough punch for most stem plants with reasonable expectations, especially in shallow tanks.
- High-light/CO2 territory: Strong output meant for carpets, red plants, dense stems. This is where dimming, CO2, and nutrients start to matter a lot.
By control features
- On/off only: Cheapest. Works, but you'll want an external timer.
- Manual dimmer: A knob or button steps. Simple and effective.
- Built-in timer (basic): Set start/stop times. Better than nothing, sometimes annoying to program after power outages.
- App-controlled / ramping: Sunrise/sunset, multiple profiles, weather effects. Nice for consistency and fish behavior-just don't get lost tweaking daily.
Color channels in plain English
White affects overall brightness and how "natural" the tank looks. Blue makes colors pop and gives that crisp look. Red can help bring out reds in plants/fish, but too much can make the tank look weird and can push algae if you blast it.
What to look for when buying (stuff that actually matters)
Marketing for aquarium lights is a circus-watts, lumens, "full spectrum," PAR charts, glowing plant photos. Some of it matters, some of it is just vibes. Here's what I focus on so I don't regret the purchase.
- Tank fit: Get a fixture that spans most of the tank length. Short lights give you bright centers and dark corners.
- Dimming: Even a basic dimmer is gold. It lets you balance plant growth vs algae and adapt as the tank matures.
- Spread/coverage: Wider tanks need better optics/spread. A narrow beam can create hot spots and shadowy edges.
- Spectrum that looks good to you: If the tank looks ugly, you won't enjoy it. "Full spectrum" is fine, but trust your eyes too.
- Water resistance: Look for splash-proof designs (at least). Condensation and salt creep (even in freshwater) ruin unprotected fixtures.
- Timer/control reliability: A dumb timer that works beats a fancy app that disconnects every week.
- Heat management: LEDs run cooler than fluorescents, but good fixtures still have decent heat sinking. Cheap lights can fade or fail early.
Don't get tricked by "watts"
Watts tell you power draw, not useful light at the substrate. Two 20W fixtures can be wildly different in output and spread. If you can find PAR info for your tank depth, great-but dimming is the real safety net.
Picking brightness without getting lost in numbers
If you're not chasing a high-tech planted tank, you don't need to obsess over PAR charts. I usually pick a decent planted-capable light with a dimmer, then tune it based on plant response and algae.
- Fish-only / hardy plants: Start around 6-8 hours/day at moderate brightness.
- General planted tanks: 7-9 hours/day, start lower and creep up if plants are stalling.
- High-light/CO2 setups: You can run strong light, but you'll be balancing CO2 + nutrients + pruning. If one leg is missing, algae throws a party.
Easy tuning method
Change one thing at a time. If algae shows up, cut intensity by ~20-30% or reduce photoperiod by an hour, then wait 1-2 weeks. Rapid daily changes keep you guessing.
Setup tips (how to mount it so it behaves)
- Test-fit the fixture dry: Make sure it sits securely and doesn't wobble. Rimless tanks sometimes need different mounts or a hanging kit.
- Center it and check spill light: If it's blasting your room, raise it slightly or adjust angle. Spill light also grows algae on glass edges.
- Start dim + shorter days: New tanks are algae-prone. I'd rather ramp up over a month than fight green hair right away.
- Add a timer from day one: Consistency beats "I'll remember."
- Do a quick glare check: Sit where you normally view the tank. If you're staring into LEDs, you'll hate it. Raise the light or add a simple shade/hood lip.
If you use a lid, confirm the light is meant for it. Some fixtures can sit directly on glass lids, but trapped heat and condensation can shorten lifespan. I like a little airflow gap if possible.
Maintenance (simple, but don't ignore it)
LEDs don't need bulb swaps like old fluorescents, but the fixture still gets gunked up. Dust, mineral spots, and condensation film all steal brightness over time. It's sneaky because it happens slowly.
- Wipe the fixture weekly or biweekly: Use a damp microfiber cloth. Avoid harsh cleaners near the tank.
- Clean glass lids often: A crusty lid can cut a surprising amount of light.
- Check cords and drip loops: Water always finds a way. Keep the plug lower than the outlet with a drip loop.
- Inspect for corrosion: Especially around screws, end caps, and power connectors.
Electricity + water reality check
Always use a drip loop and plug your aquarium gear into a GFCI outlet/power strip. It's cheap peace of mind. Also: unplug the light before you wipe it down.
Common mistakes I see (and have personally made)
- Running the light too long to "help plants": More hours often means more algae, not better plants.
- Buying a non-dimmable light for a planted tank: You'll end up using band-aids like floating plants or constant blackouts.
- Chasing super blue/white settings: Looks cool for a week, then you realize your fish look washed out or the tank feels harsh.
- Ignoring tank depth: A tall tank needs more usable light than a shallow one-especially for carpeting plants.
- Putting the light too low: Great for brightness, terrible for glare and uneven spread. Also easier to splash.
- Constantly changing settings: Plants respond slowly. Algae responds fast. Guess who wins if you keep fiddling?
Algae isn't always a "bad light" problem
Light is only one leg of the stool. Too much food, inconsistent maintenance, weak plant mass, or unstable CO2 can all show up as algae. Start by controlling light first because it's the easiest lever-but don't ignore the rest.
Recommendations by tank size and budget (realistic shopping guidance)
Instead of throwing random brand names at you, I'll break this down by what tends to work well in each category. The "best" light is the one that fits your tank, has a reliable timer/dimmer, and doesn't make you fight algae.
Nano tanks (2-10 gallons)
- Budget: Clip-on LED with a simple dimmer + an outlet timer. Perfect for shrimp, bettas, and easy plants.
- Mid-range: Slim bar light sized to the tank with built-in timer and ramping. Better coverage than many clip-ons.
- High-end: App-controlled nano light if you care about aesthetics and want a clean rimless look (and you don't mind paying for it).
Small standards (10-20 gallons, including 20 long)
- Budget: A planted-capable bar with manual dimming. Run it at 50-70% at first and watch algae.
- Mid-range: Full-length bar with a solid timer and multiple channels. This is the sweet spot for most community planted tanks.
- High-end: Higher-output planted fixture if you want dense stems or reds without struggling.
Medium tanks (29-55 gallons)
Depth starts to matter here. A 55 is tall enough that weak lights feel disappointing, especially if you want plants beyond anubias and java fern.
- Budget: Two mid-power bars can beat one weak bar-better spread and fewer dark zones.
- Mid-range: One good planted bar sized correctly, with a real dimmer/timer. If you can swing it, this is the least headache over time.
- High-end: High output fixture (or two) if you're doing CO2, carpets, or heavy stem planting.
Large tanks (75+ gallons)
Big tanks love multiple light sources. Even pricey fixtures can leave shadows if you rely on one bar across a wide footprint. I've had better luck running two fixtures at lower intensity than one fixture cranked up.
- Budget: Two decent bars + a dependable external timer setup. Not glamorous, but it works.
- Mid-range: Dual bars with ramping/timers for an even, natural look.
- High-end: Modular or hanging systems for wide coverage and that "display tank" shimmer.
Where to spend vs save
Spend on dimming + reliability + coverage. Save on fancy weather effects and obscure color channels. A stable schedule and good spread beat lightning storms on an app.
Quick-start lighting schedules I'd actually use
If you're looking for a simple starting point, these are a solid choice.
- New tank (first month): 6 hours/day, 40-60% intensity (or raise the light).
- Low-tech planted: 7-8 hours/day, moderate intensity. Add floating plants if algae starts early.
- Medium planted: 8 hours/day, start moderate and increase slowly if plants are clearly hungry for light.
- High-tech CO2: 7-8 hours/day, higher intensity, but only if CO2 and fertilization are consistent.
Siesta (split photoperiod) thoughts
Some people split the day (like 4 hours on, 3 off, 4 on) to manage algae or CO2. It can work, but it's another variable. I'd try simpler fixes first: lower intensity or shorter total hours.
Final take
A good LED light makes your tank more enjoyable every single day-better colors, healthier plant growth, and fewer algae headaches once you dial it in. If you buy one with decent coverage and dimming, you can adapt it to almost any setup you end up building.
Continue exploring heating, cooling & lighting
Learn about other heating, cooling & lighting options or see how this equipment fits into complete setups.